While the Binance blockchain and token have been around for a few years, they still don’t get the acclaim and attention given to Ethereum. Recently, however, that’s started to change as BNB has shown that it offers just as much, if not more value than Ethereum. However, there are users out there who would prefer to keep their BNB in a wallet, as opposed to storing it on the Binance exchange.
The good news is that you can easily find out how to send your BNB to Metamask in our below post.
Things You’ll Need
To send your BNB to MetaMask, you’ll need a MetaMask account. Head on over to the MetaMask site and choose the browser you want to use. Your options are Chrome, Firefox, Brave, and Edge. Once you choose the browser you want, MetaMask will install it as an extension. It’s also available on Android and iOS if you want to use it on your mobile device.
![How To Send BNB to Metamask in [currentyear] 12 How to Send BNB to MetaMask - MetaMask Wallet](https://coinwire.com/wp-content/uploads/2022/05/image1-1.png)
Once you have the extension added, it’s time to sign up for an account.
Create a New Wallet in MetaMask
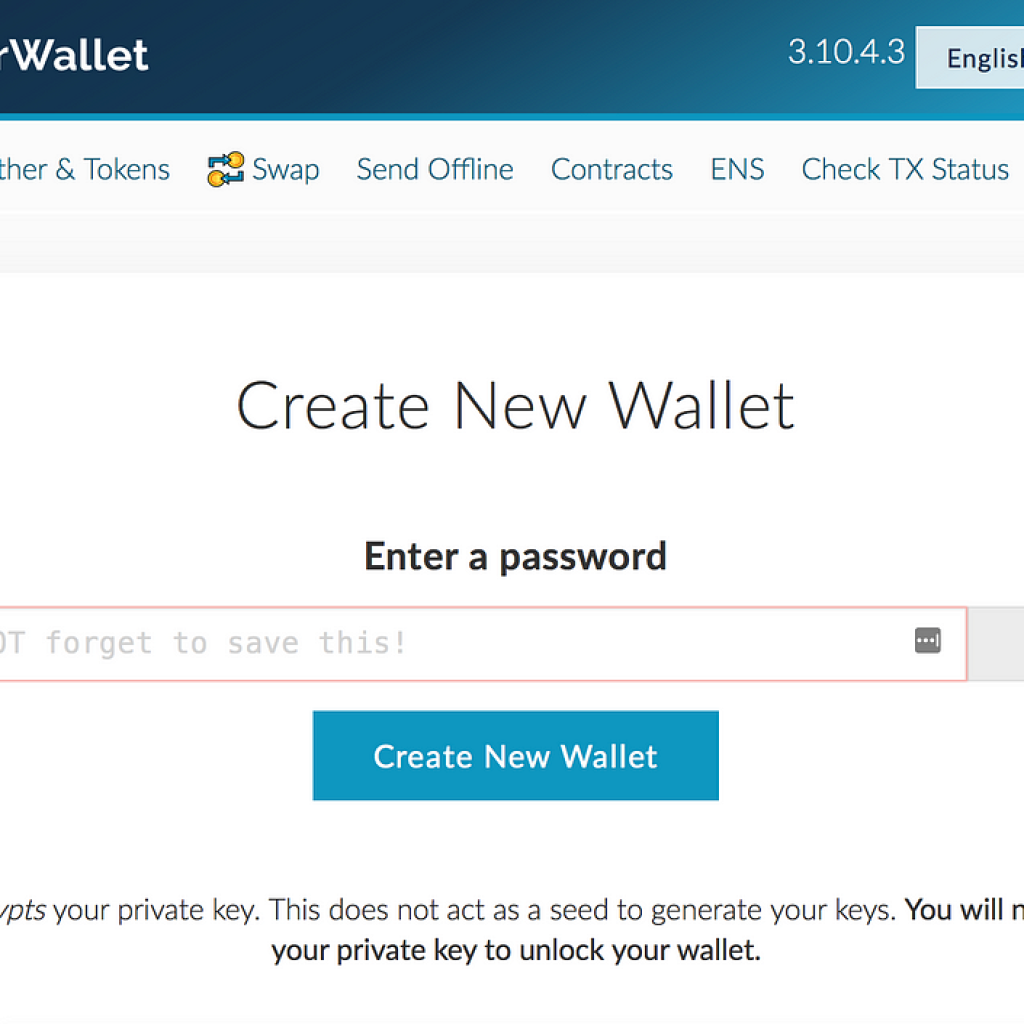
Now that you have the extension installed in your browser, click on the MetaMask icon to launch it. Read through and accept the terms and conditions. Enter a password (it has to be a strong one), then click the Create button.
Next you’ll see a seed phrase. It should contain 12 random words. Keep this phrase in a safe place. You’ll need it if you ever get locked out of your account. The best thing to do is copy them somewhere safe.
That’s it. You’ve created a MetaMask account and have a wallet address. This is the information we’ll use to send BNB to MetaMask.
How to Send BNB to MetaMask
While MetaMask is one of the safest and most secure web wallets you’ll find, it’s designed to work mainly with Ethereum-based ERC20 tokens. As a result, adding BNB tokens to your MetaMask wallet isn’t as simple as entering an address and sending your digital assets on their way.
That means you’ll have to manually input data like RPC (remote procedure call), contact address information, and other pertinent information needed to successfully complete the transaction. While this might sound intimidating and complicated on its face, the reality is that the process itself isn’t all that difficult.
Just follow the steps below and before you know it, your BNB tokens will be safe and sound in your MetaMask wallet.
Step 1: Add BSC to MetaMask
The first thing you need to do to be able to send your BNB to MetaMask is add the Binance Smart Chain network protocol to your MetaMask wallet. Find the dropdown menu in your MetaMask extension and select “Add Network.
You’ll be directed to another screen that will allow you to manually enter the information you need to successfully send BNB to MetaMask.
Enter the information as follows:
Mainnet
- Network Name: Smart Chain
- RPC URL: https://bsc-dataseed.binance.org
- ChainID: 56
- Symbol: BNB
- Block Explorer URL: https://bscscan.com
Testnet
- Network Name: Smart Chain – Testnet
- RPC URL: https://data-seed-prebsc-1-s1.binance.org:8545
- ChainID: 97
- Symbol: BNB
- Block Explorer URL: https://testnet.bscscan.com
Mainnet and Testnet are two different networks. We recommend you add both while you’re setting up so you don’t have to deal with it later. Once you click the “Save” button, you’ll be able to choose “Binance Smart Chain” anytime you want. All you have to do is tap on your MetaMask profile and you’re ready to go.
Step 2: Navigate to the sending platform
For the purposes of our how-to guide, we’re going to use Binance, but your BNB may be somewhere else. It could be on another exchange or maybe you already sent it to a different wallet. Either way, copy your wallet address from MetaMask, then head over to Binance and log in to your account.
Step 3: Withdraw funds
Once you’re logged in, click on the wallet button. You’ll see three options: Buy Crypto, Deposit, and Withdraw. Click on Withdraw and a small window will pop up. In this window you’ll choose BNB.
![How To Send BNB to Metamask in [currentyear] 13 How to Send BNB to MetaMask](https://coinwire.com/wp-content/uploads/2022/05/image2-1.png)
Enter the amount of BNB you want to withdraw, along with your MetaMask wallet address. If you feel so inclined, you can enter a memo for yourself so you know why you sent the funds. Click on “Preview Withdrawal” and confirm that everything looks good before sending your BNB to Metamask.
*Make sure you copy and paste the correct wallet address. If you enter the wrong address, there’s a good chance you’ll lose your funds. Check and double check the wallet address before you click on the “Send” button.
Step 4: Confirm transaction and funds in MetaMask
The last thing you’ll want to do is open up your MetaMask wallet and wait for your funds to arrive. It shouldn’t take too long. Your BNB should show up in your MetaMask wallet in a matter of minutes.
That’s all there is to it!
Ready When You Are
While it might seem intimidating up front, getting your BNB to Binance isn’t too difficult. Since MetaMask is set up for ERC-20 tokens, there are a few additional steps you need to take to get it set up. But once that’s done, you don’t have to mess with it again.
After that, the process is the same as it is with transferring any cryptocurrency. Just be sure you’re choosing the right wallet. You don’t want to lose your funds because you didn’t pay attention to the details. Follow the steps listed above and before you know it, your BNB will be sitting safe and sound in your MetaMask wallet.
Learn More: How to Bridge BNB to AVAX: The Comprehensive Guide
Elevate your crypto trading career with CoinWire Trading signals. Get Premium daily signal calls, trading insight, updates about the current market, and analytics about hidden crypto gems now.


